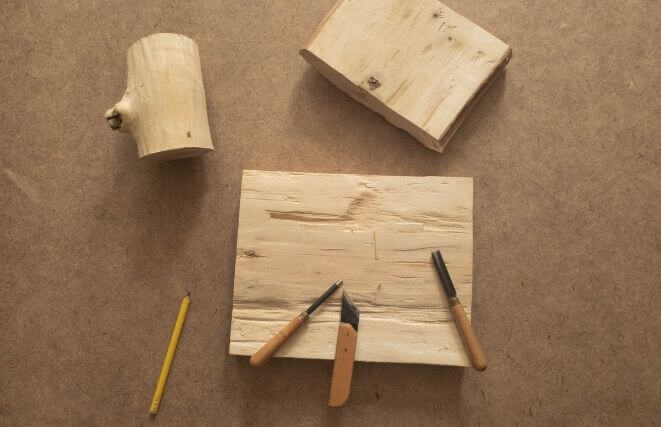
To use wood chisels for carving, you need to make sure that you take all the necessary safety precautions first. You must check the sharpness of the tool and decide if you want to mortise, pair, chop, or scrape. Find out more below.
Safety First!
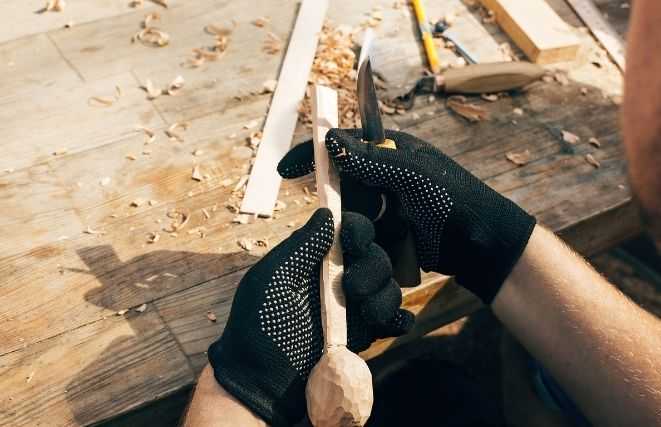
A strong chisel can help you make beautiful wooden objects. You can carve everything from rough surfaces to the smallest details. However, if you’re not careful, you could harm yourself in the process.
The first thing to keep in mind is to wear protective glasses all the time if you use a hammer to strike the chisel. You should never drive it towards you or push it.
Don’t worry too much about losing control of the grip. Usually, chisels are designed to provide you an ergonomically designed handle so it doesn’t slip. Even so, make sure you grab it firmly and it doesn’t fall off.
Using both of your hands is also more secure than using just one. You could strike the hammer with one and hold your chisel with the other one.
Make sure your workbench is very secure and tightly attached to the platform. Doing that guarantees that your back and other parts of your body are protected as well.
Finally, make sure you keep the chisels and other tools away from children or pets. They shouldn’t be near the objects because they could hold them out of curiosity and accidentally harm themselves.
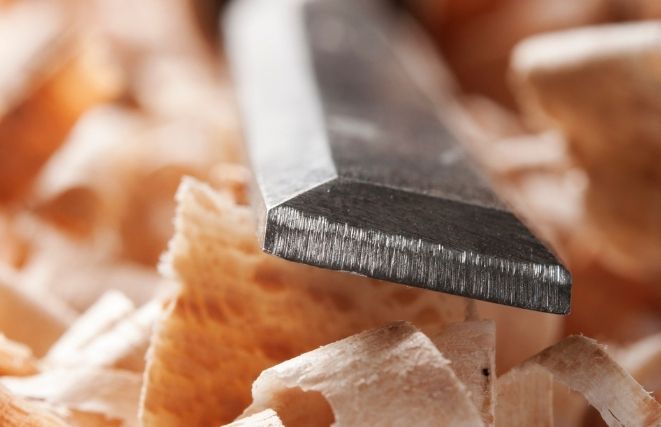
Check the Chisels’ Sharpness
Before you start, you should also check if the chisels are sharp or not. A dull tool has more chances of failing. Therefore, you could have an accident or even an injury.
If your chisels aren’t sharp enough, you shouldn’t worry too much. First, check the tip’s shape. It might be bent or broken. In that case, use a tool to chip it out at a 25 degrees angle.
You could also polish your chisels so they always look incredible. After all, wood carving is not only about creating new things. It’s also about enjoying the process.
Remember to always check if the blades are sharp. If they’re not, a high-quality sharpener tool might do the trick.
Mortise
To get thin slices, click the back part of the chisel. Then, each time you start a mortise, make sure you create a marking with a utility knife or with shallow chisel cuts.
When you do not mark it, you might chip off the board. After that, cut very thinly and hit the chisel with a spike, maintaining the bevel side facing down.
Something else to keep in mind is that chisel grain can be very disastrous for your outcome. So, to avoid that, pause and start from the other way each time the gran goes deep into the wood.
Pairing
Do you want to excel at a pairing cut? Then, pare thin slices of wood and hold the chisel very flat.
As you cut, you need to pivot the chisel. You can continue without changing anything about the process. However, if you want to go faster, grab the blade in the arc very tightly and push it.
Once the gap is open, you need to start getting rid of some slices. Go with care and cut as thin as you can with the rear. That way, you can have a very straight bottom.
Then, use the handle of the chisel and press it on a parallel angle concerning the wood. Once you start rasping it, face the slope down.
Finally, make the bevel face upwards and keep the chisel near the top while you also flatten the cut and allow the ground to give some exposure.
Chopping
Using a hammer, you can start chopping out all the wood you don’t need. Before moving, chisel to extract that part. Keep in mind that the tool needs to be very sharp for it to work.
Place the chisel next to one of the cut sides and firmly hit it with the hammer. Don’t worry if you don’t get an amazing piece of job – the most important thing is to chop off the big parts first.
Then, you can work on the details with small cuts at a time instead of pressing the tool too hard. You can also use the heel of your palm instead of a hammer for the tiny features. Chopping is one of the most fun things you can do in your workshop, but you need to be patient.
Scraping
To scrape, all you must do is to press the edge of the wood at the correct angle making sure that the back of the chisel is towards you. The tip cuts very cleanly, so it’s easy to do.
Key Takeaways
Carving with a chisel is a very fun process, but you need to know how to do it. Otherwise, you might hurt yourself. Now that you know the basics, enjoy your time in the workshop!