How to Do Wood Carving: A Beginners Guide in 8 Steps

Wood carving is a simple hobby that anyone can take up. It does not need much space and the tools needed are simple and relatively inexpensive. Take a tool in your hand, and get to work! If you would like to try your hand at wood carving, follow these simple steps.

Table of Contents
How to Do Wood Carving

What is Wood Carving?

Wood carving may be defined as the act of carving wood to make objects or sculptures. There are four different types of wood carving, namely knife carving or whittling, relief carving, chip carving, and carving in the round.

1. Choose a Wood Carving Method

Knowing which type of wood carving you would like to do can help you establish the techniques to implement and know which tools to use.

  • Knife carving, or whittling, involves the use of straight or hook knives that produce angular strokes. The finished product is often small and three-dimensional.
  • Relief carving is often used to create artistic designs or sculptures. U and V-shaped tools are used with a mallet to carve designs out of blocks of wood.
  • Chip carving is a decorative wood carving method that involves the use of chisels or knives to chip away small bits from a flat piece of wood. A variety of tools can be used in this method of wood carving.
  • Carving in the round is a wood carving method used to obtain three-dimensional objects such as wooden jars or sculptures.

2. Protect Your Hands and Eyes

Wood carving uses many dangerous tools such as knives, chisels, and gouges. It is important that you adequately protect your hands by wearing special cut-resistant gloves. Wood carving often produces a lot of dust, so be sure to wear safety glasses or goggles when performing this task. Once you have adequate personal protection, it is time to choose your tools.

3. Choose the Right Materials and Tools for the Job

There are many different species of wood. The type of wood that you use can impact the way the wood responds to carving. Choose your wood based on what you would like to carve. For example, oak makes a great choice if you intend to make furniture, while black walnut works well for intricate sculptures. Limewood or basswood, butternut, and white pine is a great wood for beginners. It is affordable and easy to work with. Other types of wood to consider are American cherry, American white ash, and western red cedar.

A sharp knife, chisel and a mallet are the basic tools you need to get started, but other tools such as gouges may be useful too. There are so many wood carving tools available. Having an idea of the size of project you are doing can help you choose your tools.

If choosing the right tools is overwhelming, purchase a wood carving tool kit for beginners that contains the basic tools you need to get started, cut-resistant gloves and instruments to sharpen your tools.

4. Practice, Practice, Practice!

Now that you have the correct tools and material, practice your technique on scrap pieces of wood to help you get a feel for the tools. When working with wood, it is important not to work against the grain. Follow the direction of the wood fibers and work in small increments to get the best possible result.

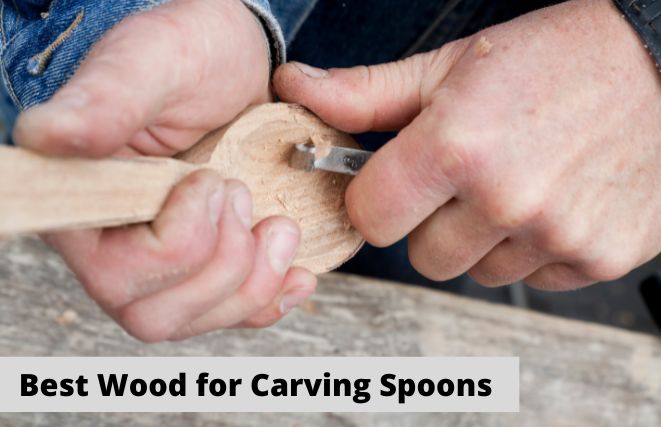
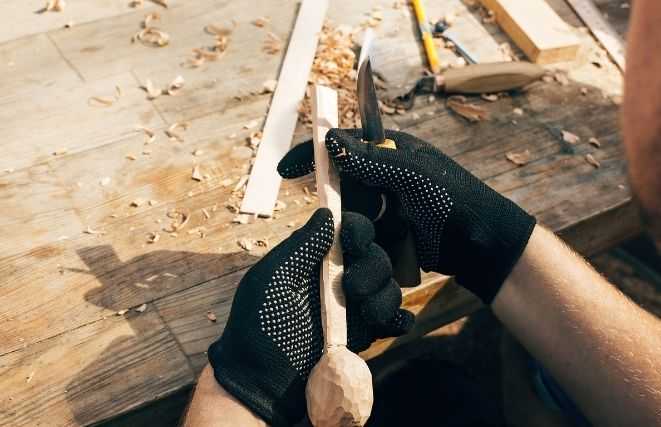
Practice holding the knife correctly and be sure to keep your fingers and thumbs out of the way while making cuts. If you are right-handed, hold the wood with your left hand and use your right hand to carve, while supporting the piece of wood with your right thumb. Use a clamp to hold your piece of wood in place if you have one to allow you more freedom of movement. Never work with wood in your lap.

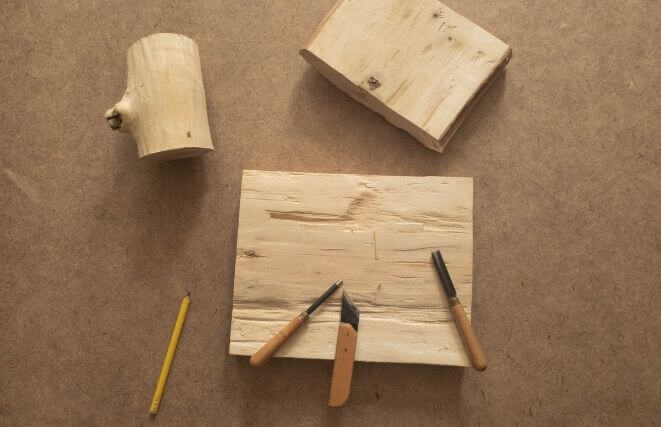
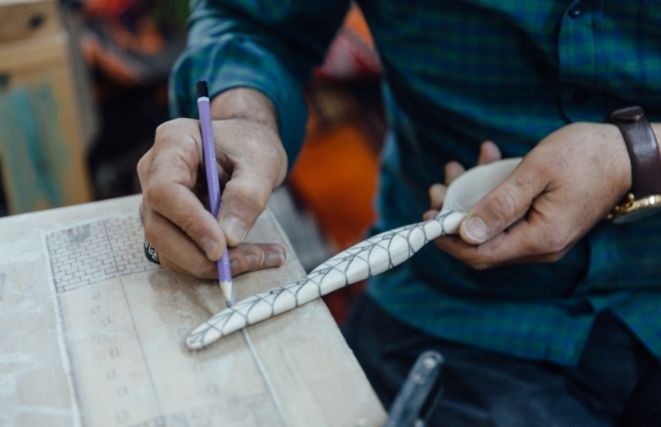
5. Mark Out the Design

Once you have spent an adequate amount of time practicing, begin by marking out your design with a pencil as a guide to prevent any mistakes when carving.

Wood Carving spoon Design

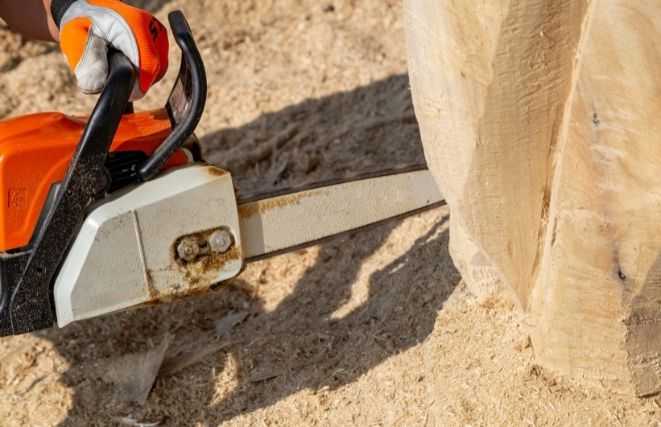
6. Cut the Basic Shape

If you are working with a larger piece of wood, use a saw to cut the basic shape, but if you are working with a small piece of wood, a knife and chisel are enough to cut a basic shape. Use the pencil sketch as a guide.
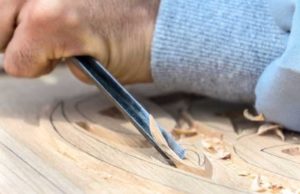
Wood carving saw

7. Refine Your Work

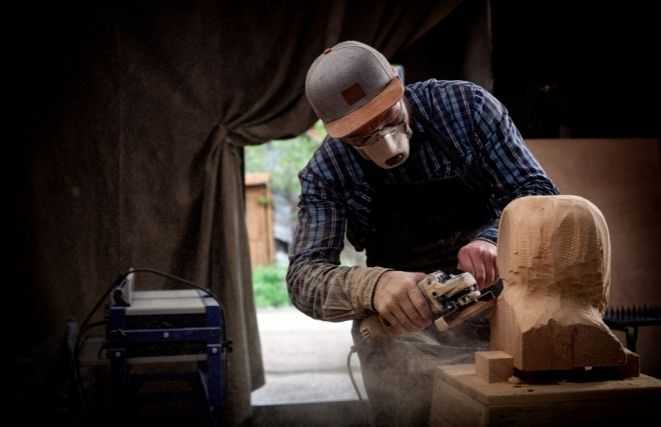
Once you have a basic shape, carve a rough form of the object you are trying to sculpt. Use gouges to scoop wood out of concave surfaces. Always ensure that your tools are sharp. Working on one area at a time, carve rough forms and then add finer detail.

Wood Carving Gouges

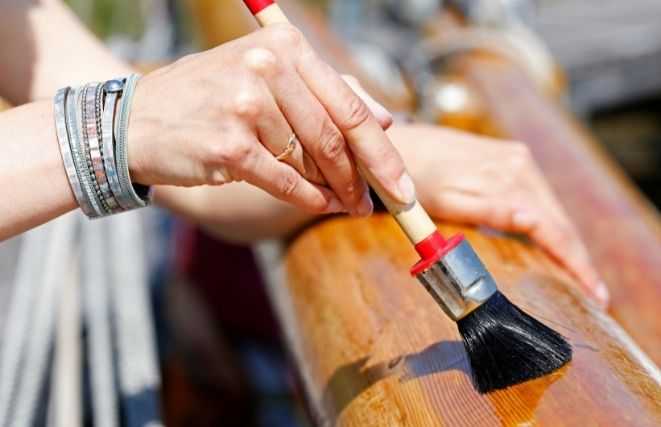
8. Finish and Protect

Once you are happy with your design, you may want to sand the wood down to refine any harsh surfaces. If you are going for a rough, natural look however, you can skip this step.

When done, protect the wood to prevent the buildup of debris and moisture. You can choose one of the following products to preserve your woodwork:

  • Beeswax paste – non-toxic, applies easily and dries quickly. This is a great option for beginners. Beeswax paste should not be used for wood that is going to be handled very often as the finish can rub off.
  • Mineral oil – non-toxic and easy to apply. It absorbs into the wood so is great for food utensils and provides a good water barrier.
  • Tung oil – takes two to seven days to completely dry. Tung oil offers great durability and is non-toxic.
  • Danish oil – takes 24-48 hours to dry and can be used for wood that is handled often. Danish oil offers a more durable finish.
  • Varnish – There are various types of varnish available. Varnish is generally toxic and needs to be applied in a well-ventilated area but offers the best durability.
Wood Carving Varnish

Wrapping It Up

Wood carving is an art form that has been around for centuries. You can learn this age-old skill by following these eight steps. Do not forget to enjoy. It’s just a hobby.

Graham Robson
Graham Robson

In the world of wood carving, your wooden project starts with you. Using the right kit can be seen as an extension of your existing skills and abilities that you're required to build over time.

About Me

My name is Graham, I’m an English teacher and woodcarver during the weekend.

aWoodStory.com, my website designed to act as a digital workshop for wood carving in the one place.

I hope you enjoy reading it as much as i enjoyed writing it!

Recent Posts